Authentic Chinese food is just so simple and wholesome and tasty. Everyone should master it, regardless of their heritage. Heaven forbid, you’re bored of roast dinners and fancy changing it up, this belly pork recipe infused with Chinese flavours is guaranteed to get your tastebuds interested!
You’ve gotta make a rub, which you’ll lovingly massage into your pig and leave to soak up.
Chinese Pork Rub
- 1.5kg belly pork, with the rind scored
- 1tsp black peppercorns
- 2 tbsp Maldon sea salt
- 2 tsp five spice powder
- 2 tsp caster sugar
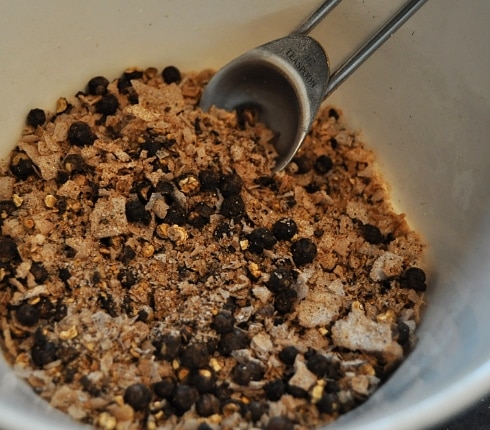
Tip: Dry roast the peppercorns in a pan to bring out the flavour. Give them a good bashing as well.
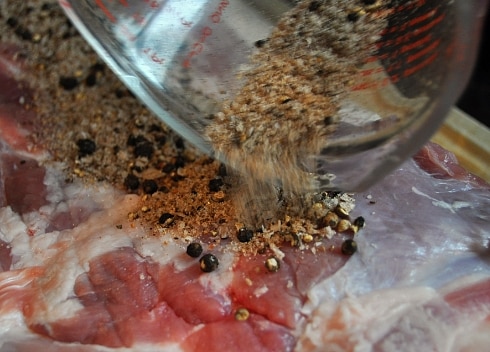
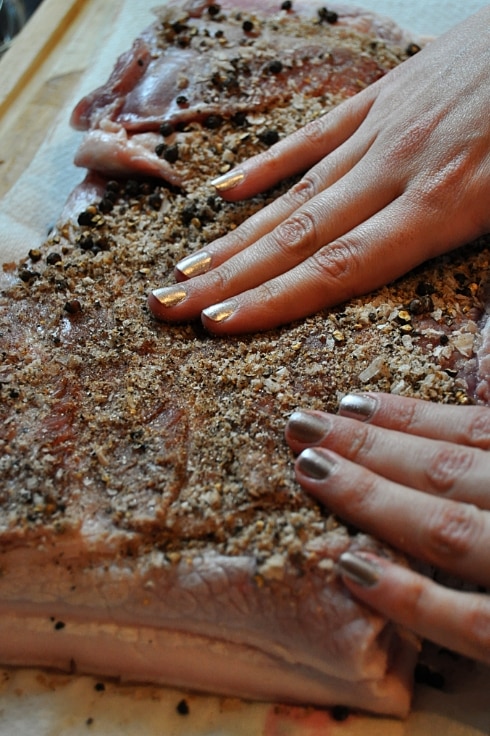
This bit is so therapeutic! Don’t be shy, think sports massage! Leave Mr Pig to hang out in his aroma crust for a couple of hours.
When it’s cooking time, pour a kettle of boiling water over the skin, this encourages the rind to separate away from the fat, giving you crispier crackling. Once it’s drained, sprinkle over some salt.
The belly pork needs to go into a 230 degree oven, on a rack sat over a tray of water. This water ensures super moist meat, not a leathery morsel in site! The pork gets 15 minutes at this temperature, then another 2 hours at 150 degrees. Slow and low, that’s the key!
And the result?
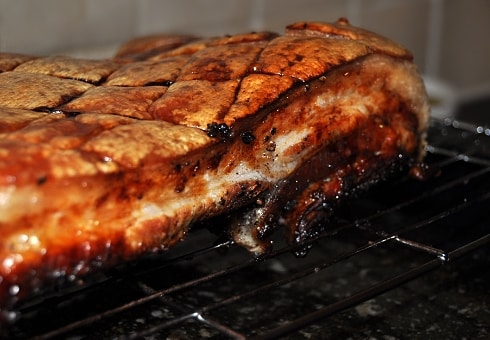

The meat is so sweet and juicy, with a delicious salty base. The crackling is crunchy and light and just so damn moreish!
If you want to learn how to make the ultimate belly pork, follow this link.
4 comments
This looks amazing, I love Chinese pork belly. That’s a great tip about pouring over boiling water over the skin, I’m off to my butchers now!
It definitely works. Lots of ground work pays off for decent crackling you can enjoy care free: it’s not about getting your dentist involved!
This looks so nice!
So good we polished off the whole lot in 2 sittings!